Making your fishing lure can be the great achievement you will ever imagine. Do you know why? Nothing is satisfying, like seeing what you made out of your hands working effectively. Besides that, it will boost your creativity to the highest level possible. When you keep trying things by yourself, then definitely, you will start thinking outside the box. There is no doubt that your confidence as an angler will be boosted too because you caught the fish from your custom lure.
Here Are Simple Steps To Make Your Wooden Fishing Lure
Step 1: Consider the option as the best to make your lures
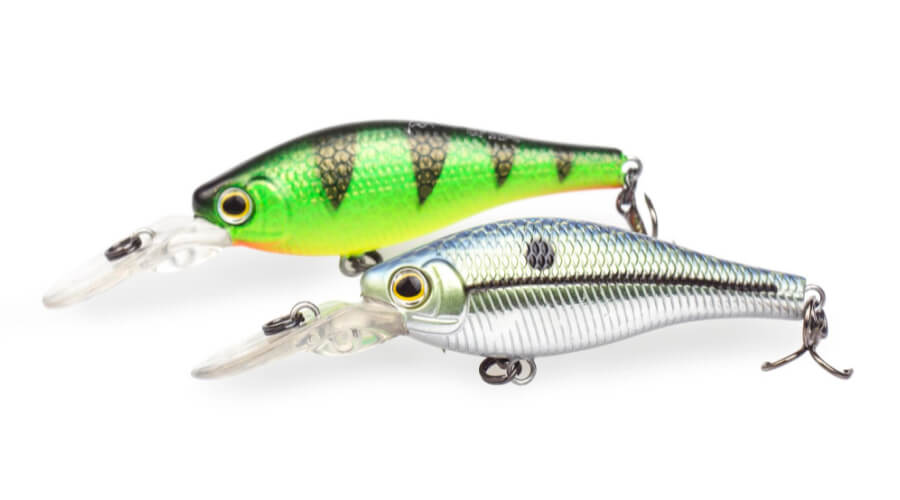
There are several options to make your particular fishing lures, and each one of those can work efficiently. This clearly shows that all those many options can make you attain your goals. Wood can create either diving baits or topwater lures. With wood, you can generate fishing lures such as propeller baits, poppers, thin minnows, stick baits, and spinnerbaits.
You have to choose the best option that will work with your situation effectively. When choosing, you have to consider your fishing surrounding and the season of the year. For instance, if your fishing ground has many of covers for the fish, then diving baits would be the most favorable for you as compared to topwater’s.
After bearing in mind the options and determining the type of lure to make, you have to choose the suitable sizes. For instance, 5 inches long bait is the best for bass. But if you are a beginner in fishing activity, then you need to create a crankbait because it’s the easiest one.
Step 2: Start designing and cutting the fishing baits
You first need to consider selecting the type of wood to use even before you start designing. Most anglers either use pine or balsa. These woods are denoted to be softwood. With these woods, there is no need to use any advanced materials to shape them and cut them in identifiable bait. Also, they are easy to work with when compared to hardwoods.
After that, you can now start the work of designing the lure. You need to have a pencil for this particular purpose. Place the bait on the table to act as a point of reference. Cut your wood into a rectangle that is 4 inches wide and at least 7 inches long.
After you are done cutting, outline your bait on the wooden block displaying the curves visibly. The curves ought to be shown because they will be used as a reference when cutting over the wood. What to note is that all drawings must be done using a pencil. Do you know why? Because pencil work can be easily erased. The next thing to do after this is to use a sharp knife to cut over, following your drawing. You don’t need to get a perfect product but to have an abstracted version that will be refined later.
Step 3: Refine the fishing bait shape
At stage two, your aim was not to get exactly perfect because you know that it will be refined later. Though, in this step, you should come up with something that someone should be able to tell what you are trying to design. Here you use a knife to cut through your wooden block, handling any rough edges and smoothing it out. After that is done, use sandpaper. For you to be effective with sanding, use this three-step process;
- Use course Grit sandpaper – (Those under #100) – this will assist in ensuring the shape is refined.
- Use a Medium Grit Sandpaper-( like # 120 and #150) – this will ensure that all rough edges are smoothened.
- Use Fine Grade Sandpaper-( like # 220) -this ensures that you get the final smooth finish and also make sure that the wood is clean enough for another step.
Step 4: Pick up the drill
This is a home-based tutorial, and many people would have picked something such as some nails and a hammer. On the contrary, you need to have a micro drill for this chapter. Before you start poking holes into your shape, you require to begin by creating places on the wood whey you wish the holes to go.
The necessary holes we are saying here are the ones for the ballast weight, the rattle, and the eyelet screws. Observe where the holes will be and then prudently drill them out. Why use a micro drill? Because you will be working thing piece of wood. The larger drill can cause deformation in your lure, and therefore micro drill is the best.
Step 5: Practice some artistry
Having done with holes, I know it the high time to practice some art. Here you need to have an artistic mind to ensure that you are doing it correctly. You use some colors to paint your fish lure. Remember that you will be using your bait in the water, and therefore, you ought to begin by using a colorless sealer. The sealer will help protect the paint from getting damaged by water.
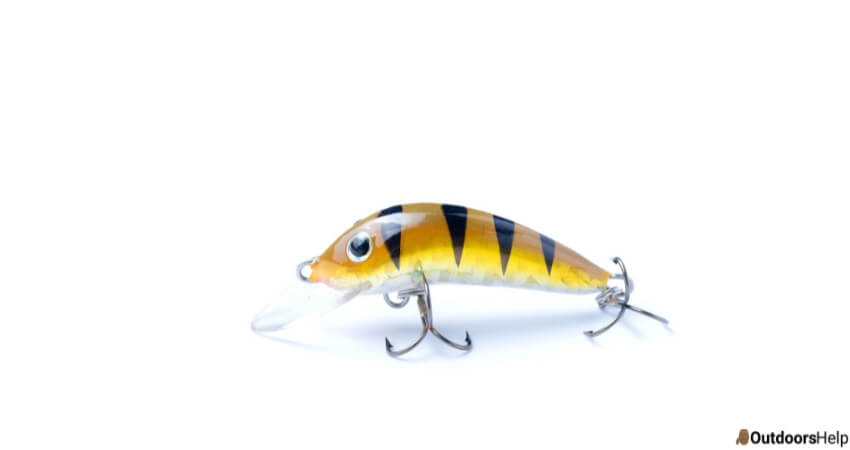
After you are done using the sealer, paint your lure with your preferred color. The most desired colors for the baits are the one that comes from the oceans such as red, green, yellow, silver, blue, and gold. The next thing is to put a clear waterproof coat on the topmost of the paint. Do you know why? To prevent the paint from falling off in the water.
Step 6: Place your fishing lures together
The ideal holes needed are the eyelets. You require two, one for attaching the hook to bait and the other for attaching the bait to your fishing rod. After inserting the eyelets into drilled holes, it’s time now to connect your hooks. The best choice for the hook is a double hook. Do you know why? They do not need you to use spit rings when ascribing to the eyelets.
If you are done doing the above steps, then you will have made your wooden fishing lure.
Conclusion
As you have seen above, making your fishing lure enhances your creativity to another level. Besides that, they help reduce your budget. So, if you were afraid of making your own, it’s now time to try.