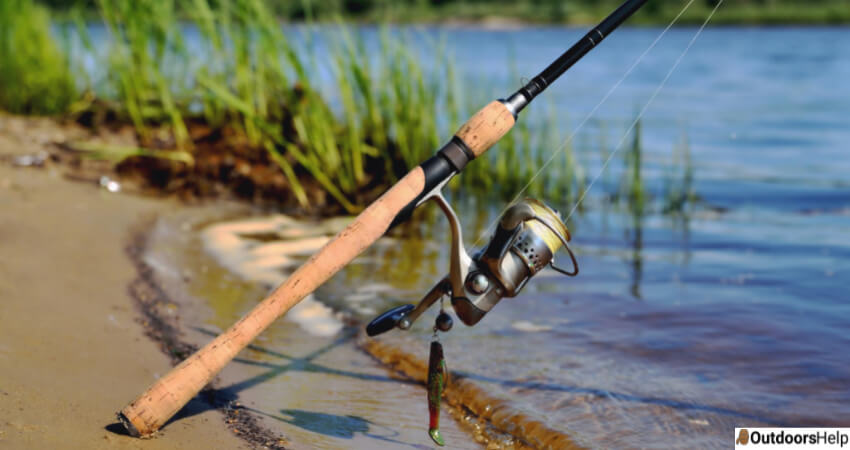
Learning how to tie two fishing lines together is one of the most vital fishing skills. Whether you are an experienced angler or a beginner, you require to know ways on how to tie fishing knots. So, it’s time for you to learn how to tie a few different knots, and you will be able to join two lines in nearly all scenarios you will come across.
Here Are The Methods That You Can Use To Tie Two Fishing Lines Together
Method 1: Trying a surgeon’s knot
Surgeons are among the most prevalent methods for understanding how to tie fishing lines together of different or equal diameters because of their strength. The good thing with this knot is that it’s simple to tie and get healthier with more twists. For instance, if you make one twist, then it referred to a single surgeon, while two twists make it double surgeons.
Here are simple steps to follow to make surgeon knot
Put the two lines sides by sides, overlapping by around 6 in (15 cm)
Place the two lines parallel to each other. Ensure that the line runs to the leader and the reel run in the opposite route. Then after that, you overlap them by roughly 6 in (15 cm). In doing so, you will be able to make a loop with both of the lines where they overlay. What you will have made can now be used to tie together both lines of unequal and equal sizes.
Form a loop with both of the lines
Clutch both of the lines at the right-hand lateral and then coil them into a loop. When crossing back over the top of the line because of the curl, ensure they run parallel.
Overlay the loop with the two parallel lines sufficient to tie a double overhand knot. In doing so, you will have known to make the basic knot with an extra pass over the loop.
Pull both ends of the lines through the loop
Doing this is trying standard overhand knot, you know why? Because you have to slide the ends of the loop beneath the parallel lines. After that, pull them up through the loop. So, there is no doubt its standard/double overhand knot. The point to note is that if you do not have sufficient slacks to tie an overhand knot, then you have to start over and create a larger loop, as shown.
Shawl the ends round the lines and pull them through the loop once more
You need to cross the loop back over and beneath the two lines. After that, ensure, ends are pulled up through the loop to create a double overhand knot. During this process, the loop will be left loose. At this point, the double overhand knot will look similar to a little braid. If you want to advance to make a triple surgeon’s knot, then you can create a third pass through the loop.
Pull-on all four ends of the lines at once to tighten the knot in position
Here you have to tweak the two ends. The left-hand lateral between the fingers on your left hand and the right-hand lateral between the fingers on your right hand are the ones to be tweaked. You have to pull on all the lines at the same time to clinch the knot closed. The knot will now be similar to a tight little “X” shape.
Trim the tag ends of the lines with line cutters or scissors
Do you know first what tag ends are? They are simply the loose ends coming out of the knot. You are required to cut them down as close to the knot as to finish attempting the line together. The surgeon knot made will be secure hence simple to tie. Due to that, it’s evident that making a knot using two lines together can be simple as well.
Method 2: Using a double Uni Knot
This is one of the excellent knots to understand when learning how to tie a fishing line to another that is about the same diameter. For example, adding a monofilament to your mainline is the Uni to Uni knot. The line joining knot is simply two Uni knots tied back to back and is usually strong in terms of connections. Besides that, it is pretty easy to learn.
Here you start by overlapping the ends of the two lines by numerous inches. Pull the end of the mainline in to form a loop and make several turns through the loop. Ensure that those several turns are tight enough. The other lines should follow the same steps, one after another. Lubricate the two lines and grip them both as you pull in opposite directions. The finished knot should look like a barrel, similar to the blood knot.
Method 3: Using an Albright Knot
Learning how to tie a fishing line together can be a little bit challenging when the lines are dissimilar types. For instance, attaching a monofilament leader line to a braided line is a difficult task that is the usual routine for saltwater anglers. Most of the people who fly fish regularly use the Albright knot to attach the Supporting line to the main fly line.
This knot is not the easiest to tie as you may think, but the good thing is that it’s the straightforward one. Here you start by making your first loop in the bigger line. After that, you pass the end of the other line through the loop and shawl it around ten times. Pass via the loop and ensure to pull it tight. In doing so, you will have accomplished your mission.
Conclusion
As you have seen is that learning how to tie two fishing lines is not simple as you may think. But if you like fishing, you have no excuse other than to try to do it for yourself. The good thing is that there are various types of steady knots to choose from. All you need is to follow the methods mentioned above.