Fishing is a recreational activity that is both relaxing and more involving. Every angler has their way of catching the fish, but some basics cut across. The simplicity or complexity of the fishing process depends on an individual and level of preparedness. However, to set up the fishing poles, you have to follow some essential steps. It doesn’t matter which kind of fishing you do; the fishing pole should be robust and lure effectively.
Here we present a step-by-step guide that makes setting up a fishing pole quick and stress-free.
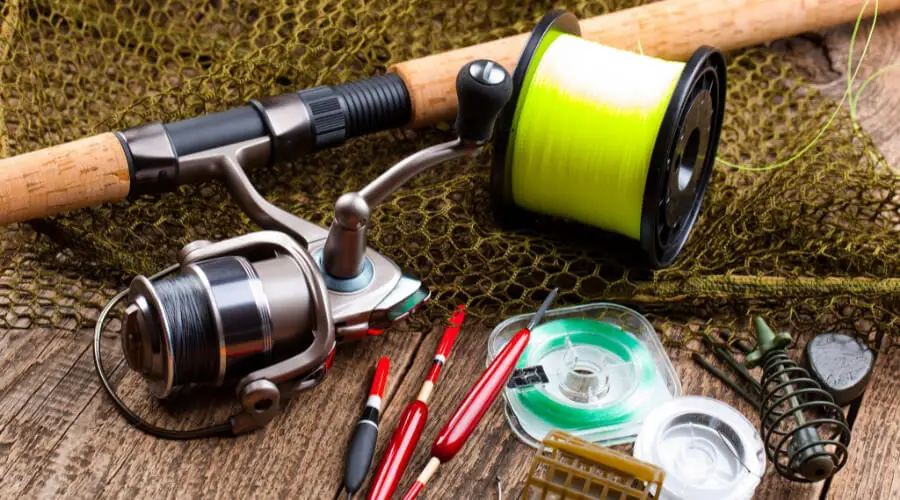
1. Choose and gather the setup tools
Before you start to set up your fishing pole, you will need the right gear. Note that different rods are suitable for specific situations and skill levels. You can opt for a spinning pole, casting a pole, fly fishing pole or any other. You also need a reel and a fishing line. Get to know the different types of lines (braided, monofilament, fluorocarbon) and choose accordingly.
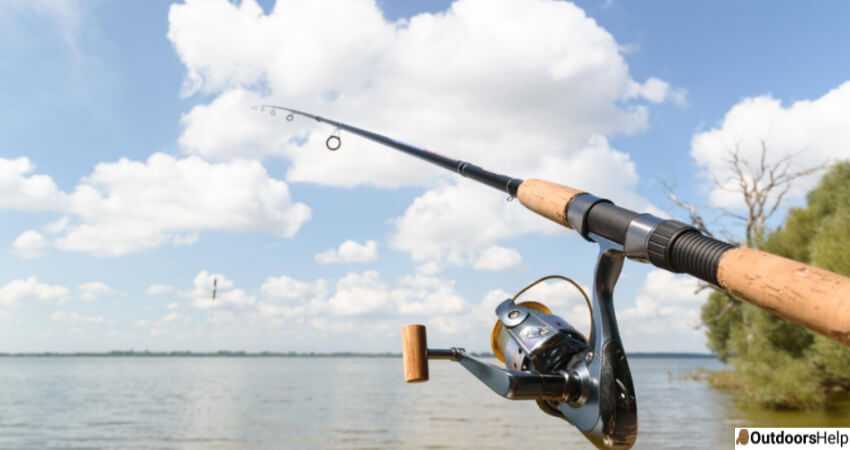
2.Prepare your fishing pole and the reel
You should identify all the parts of the fishing pole before assembling it. There is ferrule join the rods that come in several pieces, handle/grip where your hold the rod, butt section which is a thick part near the handle, tips the flexible portion, and the guides that are rings that go along the pole.
Now clean the fishing pole to get rid of all debris and dirt that can scratch it. You should use a soft cotton swab to wipe the female ferrule of the rod. Cleaning keeps the rod efficient and useful for a long time.
Bring the female and male pieces together on a flat service. You will have to rotate the pieces together by holding the feminine piece while rotating the male ferrule to lock the pole.
At the bottom of your fishing pole, there is a female opening where you should attach the reel. This is a reel seat where the spindle should be inserted securely. Put the reel seat over the reel butt and rotate to join the two pieces tightly. Do not overtighten as this can ruin the rod and crank the reel.
3.Put the fishing line on the pole
Lift the silver overhead of the reel, known as the bale arm, and pull the edge of the thread. The coil will then unravel the thread, and you should ensure the spool of the line unwinds to the direction of the reel.
Once you pull enough line, thread it through the pole’s guides. Start with guides close to the reel and thread it to the top. After putting the thread up to the top of the pole, you should close the bale arm.Do this by flipping in the opposite direction from what you did when opening. Reel in a small line to test the course of the spool. If it is not working, you should start the process over again.
4.Select the right lure
You should choose the right color based on the weather conditions. Silver lures work best on sunny days since it reflects light to attract the fish. In contrast, a golden bait works well on cloudy days due to its reflective properties that give off light in the cold season.
Once you settle on the color, pick the lure type to use. The target species determines the appropriate lure type to use. Jigs work well in freshwater, and spoon bait is suitable for fish that feed on small ones. If you are not sure which bait works well, then spinner lures are the best as they are multi-purpose. It usually works best in areas that are hard to catch the fish as they spin in water as it moves, thus attracting the attention of your prey.
The water clarity should also guide you towards choosing the right type of lure to use. In muddy water, look for lures that create vibrations for fish to feel, such as spoon or spinner. Conversely, bait used in clear water should create minimum vibration so as not to scare the catch.
4.Attach the lure
After settling on a particular bait, then you should attach it to the fishing pole. Do this by tying the line on your lure. Thread the line through the bait leaving 10-20 centimeters hanging on the other side. Most lines are invisible; thus, you should practice knot tying with shoelaces before doing it on the lures.
Now pull the line’s free end back to the rest of the thread to tie it. Wrap the string loosely around the hanging thread on the lure to wound the strands together. Do these five times to avoid losing your lure while fishing.
You should then tuck the free end of the thread back through so that it comes underneath the line. Hold the end of the thread and pull it back towards the bait and loop it through. You need to loop and keep tucking to make it tight.
To complete the fishing rod, fasten the knot by pulling the end of the line and the line itself and pulling them apart. A tight knot should be created, and the excess line should be clipped off. Moistening the fishing line can make it easy to wind the knot down properly. Just wet your fingers using water or saliva and run it through the line. Your fishing rod will be ready for the next expedition.
Final Word
Whether you are a professional or novice angler, a fishing rod is an essential gear to put in your tackle box. The steps highlighted above should help you get your fishing pole ready for angling. Of importance is to choose the right type of rod before setting it up. The rest of the things can be done quickly by following the highlighted steps keenly. Once your fishing rod is set up, nothing can stop you from catching that dream catch!